Trust us, pitching a tent really isn’t that complicated. We know that if you’ve never done it before, figuring out how to pitch a tent can feel harder than it should.. especially when you open the bag to find poles twisting like spaghetti and far too few pegs. But, with some help from those of us who have been pitching tents for decades, and a bit of patience and order, you’ll be covered, literally, in no time.
In this beginner’s guide, we’ll walk through how to set up a tent step by step and what gear to pack in your kit. Whether you’re camping at a music festival or doing your first family trip off-grid, this is the Tiegear guide on how to put up a tent properly the first time.
Before Your Trip
Don’t lace up your boots and head out the door without first getting the groundwork sorted.
Inventory Check
Before you leave the driveway, open your tent bag and make sure everything you’ll need is in there.
At a minimum, your tent bag needs to include:
- Tent inner
- Poles
- Rainfly
- Pegs
- Guy ropes
It’s also helpful to add:
You’re thinking, “isn’t that standard?” Yes, but tents have a habit of being packed away in a rush. Missing poles aren’t fun to discover in the dark or when you’re miles away from an outdoor outfitter.
The Backyard Practice
Don’t make the mistake of unpacking and pitching your brand-new tent out in the wild, in the dark or in the wet for the very first time.
Set it up once at home, on the lawn or in the lounge for a shake-down before your first trip. You’ll feel a lot more confident when you’ve done it before.
Do this, and you’ll figure out:
- Which end is the door
- Which poles go where
- How the fly attaches
- If anything is missing from the bag or box
The Groundsheet or Footprint
Our first tip that comes from real-life experience? Before pitching a tent, put something underneath it.
A groundsheet or “footprint” acts as a barrier to protect the base of your tent from sticks and rocks, and from damp ground. It also helps with insulation.
Make sure the groundsheet sits just under the tent base. If it sticks out too far, rain can run onto it and pool underneath you, which is the opposite of what we are trying to achieve.
Choosing Your Spot
Aside from working out how to pitch a tent, the next most important consideration is “where?”.
- Flat and Level: Look for ground that’s naturally flat with enough space for your camp. If your head is downhill from your feet, you’re going to sleep terribly. If it’s rocky or lumpy, it’s not going to be super comfortable either.
- Natural Hazards: Check overhead for dead or large overhanging branches - move away if you see them. Avoid cliff faces and watercourses, and never set up in a dry creek bed.
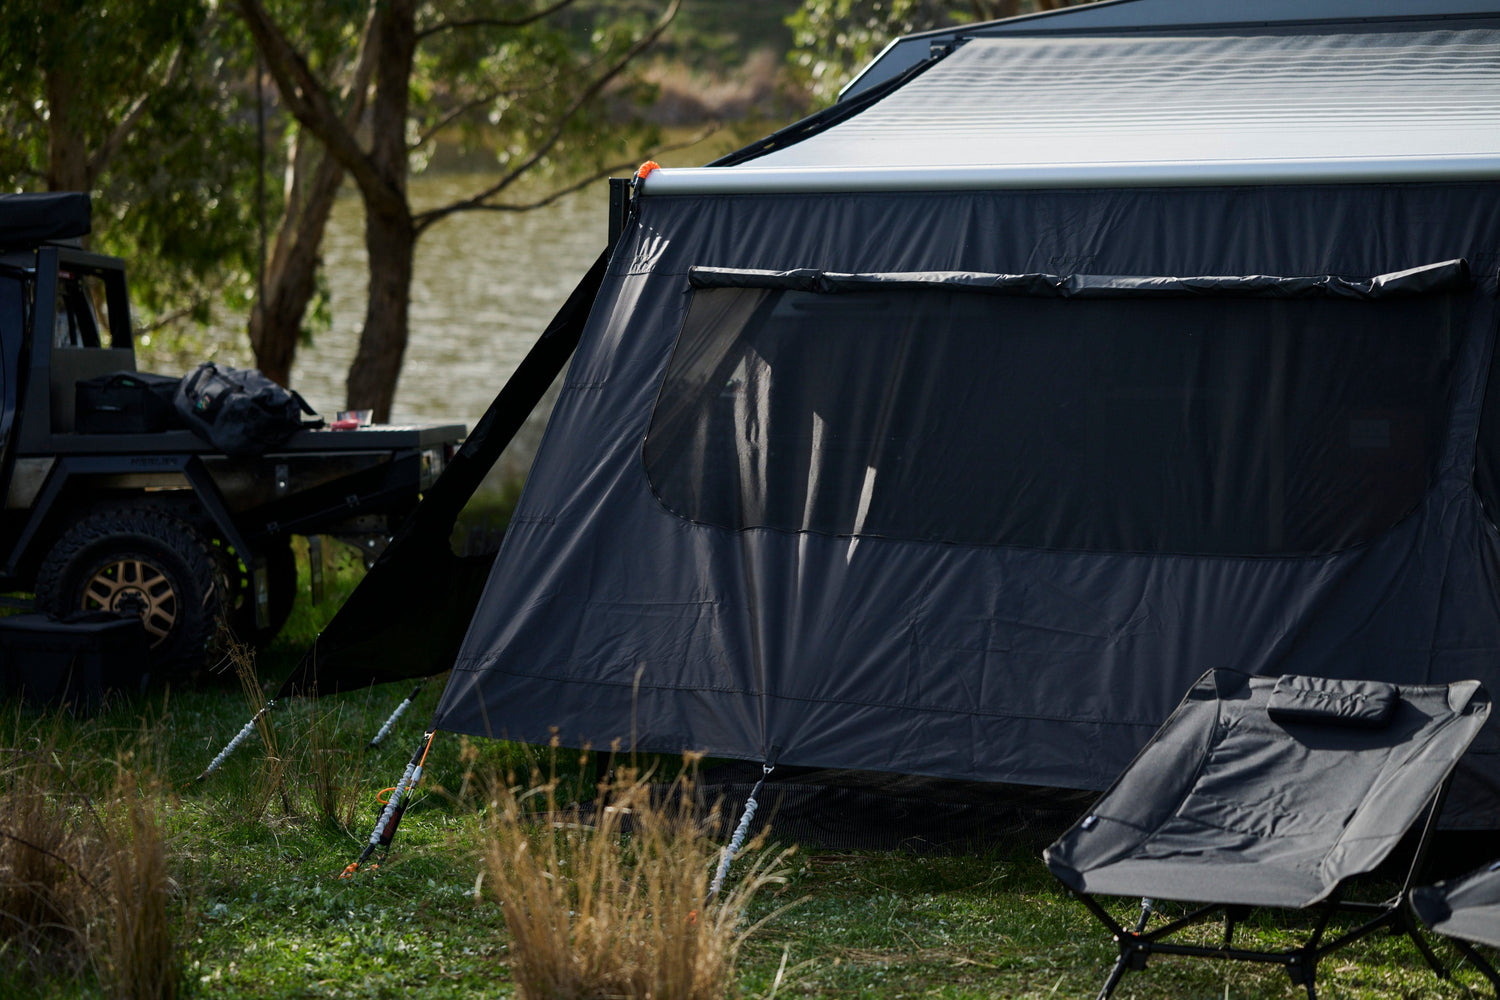
- Wind Direction: Pitching a tent on an exposed ridge means facing the full force of the weather. Choose a sheltered spot, and turn the smallest side of the tent into the wind. Your door shouldn’t be facing the direction of the gale.
Step-by-Step: Pitching the Tent
Now for the part everyone, except you, will Google. How to pitch a tent.
Step 1: Laying the Foundation
- Unroll the tent inner flat onto the ground
- Line up the door where you want it, thinking about the view, wind, and access
- Peg the corners lightly so it doesn’t shift while you’re working
Step 2: The Pole Puzzle
- Assemble the poles, slipping one into another as they straighten out. Let the shock cord inside pull them together
- It’s helpful to lay all the poles out side-by-side, so you can see the varying lengths you have to work with
- Select the right pole for each area of the tent. Thread the poles through the sleeves or clip them on, depending on your tent style
Take your time doing this. Hurrying through is what usually causes a snap, or the frustration that comes with realising you’ve used the wrong pole in the first place.
Step 3: The Big Lift
- Once the poles are in place, slip the ends into the eyelets or base pins
- Gently lift the structure upright - now, it looks like a tent!
- Now you can peg the base corners down properly so the frame holds steady
Step 4: The Rainfly
- Throw the fly over the top. It’s the weather-resistant cover for your tent.
- Make sure it’s the right way around. Doors should line up with doors, etc.
- Peg it down, starting with the corners, and then do a circle around the tent to make sure it’s all pinned
-
Now add your guy ropes. They help to stabilise your shelter, while keeping the tent fly off the inner. If the fly is lying flat against the inner wall, you can get condensation or water pooling when it rains.
Nailing the Foundation: Pegs and Tension
Beginners take heed. This is where you can get it right, or very wrong.
The 45-Degree Rule
If you’re using standard metal pegs, drive them into the ground at roughly 45 degrees, leaning away from the tent. That angle helps to stop them from pulling against the guy ropes.
Push or hammer the pegs in with a mallet, fully, so they sit low into the ground.
Upgrade Your Kit
Most tents will come with thin, light metal pegs as standard. They’re fine in soft grass or if you’re camping in clear conditions. But if there’s a chance of rough weather, or hard, rocky, or sandy terrain, you’ll want to upgrade.
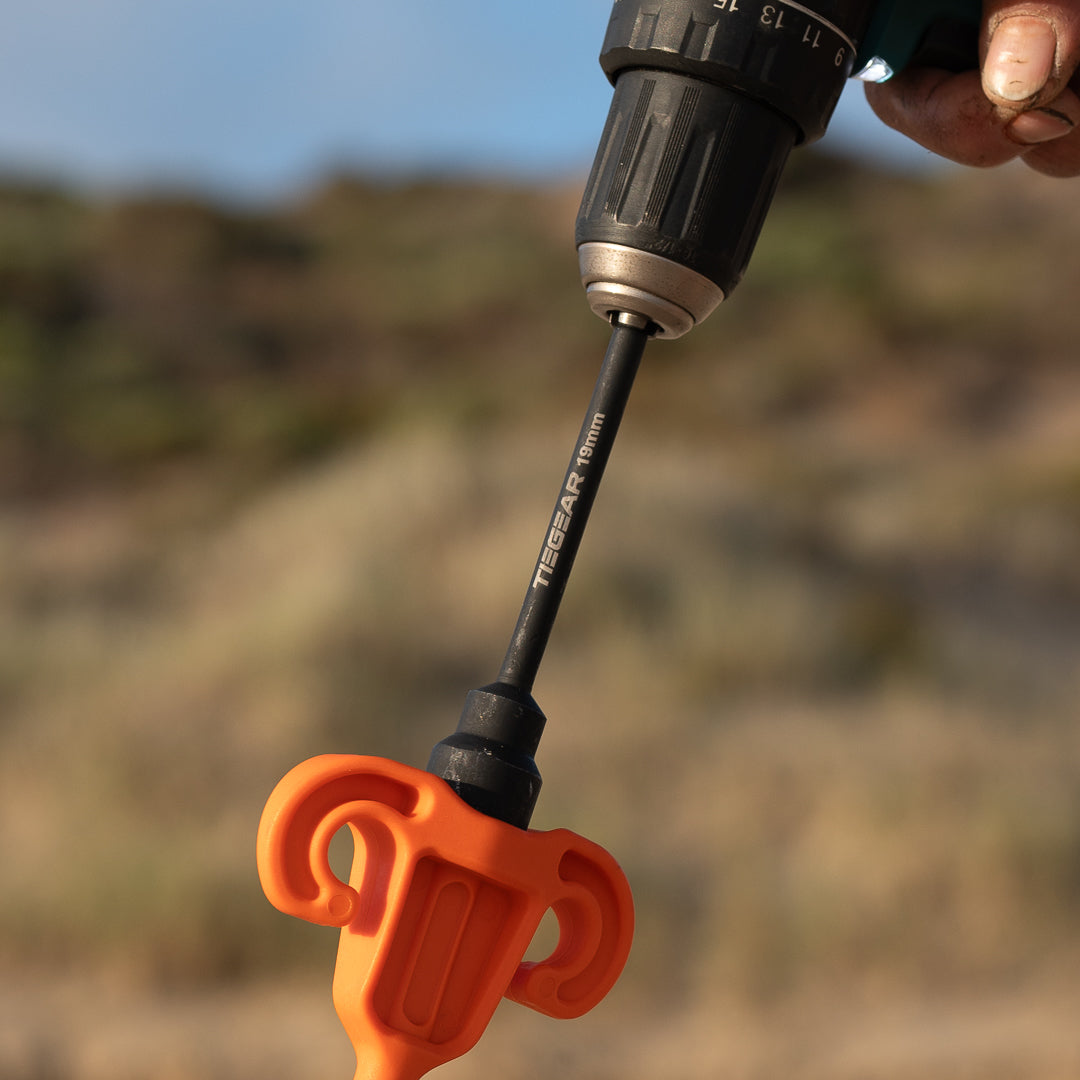
Screw-in pegs are 10 times easier for beginners because you’re not wrestling a mallet or fighting to get the peg into impossible ground. They drill in and use threads to grip underneath the surface, giving you a much firmer and more reliable hold.
Guy Ropes
When you attach your guy ropes, peg them out so they’re tight but not cranked to the point of stress. Use the tensioners so the string is taut and firm (no slack!). They’ll keep your tent secure and will stop the fly from flapping noisily in the wind.
Common Beginner Mistakes (And How to Avoid Them)
- Over-Tensioning: Pulling everything drum-tight can look neat, but it can stress your seams and zips. Taut, but tight, is a good rule of thumb.
- The Loose Fly: After pitching a tent, make sure there is a small air gap between the inner and the fly. If the rainfly sits flat against the inner, condensation can build up fast, bringing in moisture and causing mould.
- Leaving the Door Open: The golden rule? Always pitch your tent with the doors zipped shut. That way, you’re not pegging too tightly. And, once you’re set, keep the door shut. You won’t want to share your sleeping bag with every insect within the same postcode.
Know how to pitch a tent and unlock your adventures
Once you know how to set up a tent properly, you’ll unleash a lifetime of outdoor experiences. Not only will you have the confidence and knack to throw up a shelter quickly, but you’ll be equipped with the skills needed to explore further and wilder than many others dare.
If you’re upgrading your kit, Tiegear is the place to start. Our range of soft and hard surface pegs, springs and rope bundles, and camping tiedown gear takes your set-up from basic to ready for anything.
FAQs
How long does it take to pitch a tent for beginners?
Is it your first time? Give yourself at least 15–25 minutes for your dry run.
Remember, always test out your set-up at home before venturing out on your first camping trip.
Pitching a tent can be fast and simple; it just depends on:
- Tent size
- Weather conditions
- Whether you’ve had a practise run
- What tools do I need to set up a tent?
When you’re pitching a tent, at a minimum, you’ll need:
- The tent, with inner and fly, and poles
- Pegs
- Guy ropes
- Mallet or screw-in driver
Upgrading your camping kit with screw-in pegs, screen springs, and a ground mat will make the experience faster, easier, and a whole lot more comfortable.
Do I really need guy ropes?
Yes, you really do. When you’re pitching a tent, guy ropes are essential.
They:
- Reduce movement from wind and soft, loose ground shifts
- Protect your tent poles from taking on all the pressure
- Keep the fly tensioned and grounded
- Help prevent water pooling and condensation building

Leave a comment
This site is protected by hCaptcha and the hCaptcha Privacy Policy and Terms of Service apply.